The living room is complete, photographed and ready for your perusal very soon. Before I bring this little Rock My Room series to a close I thought you might like to take a gander at my final DIY for this room. When I say ‘my’ I really mean ‘our’ as to be honest James did most of the work on this one.
As you may remember we moved into our pad just before Christmas. Before we’d unpacked most of the boxes I’d prioritised and whipped out the Christmas tree to fill an empty corner under the window in the living room. Now I know everywhere looks bare after the Chrimbo decks come down but this area looked particularly sorry for itself. I considered adding a cosy chair, then maybe a cabinet before settling on a console table which I figured would be practical and add to the airy feel I was hoping to achieve for the room.
Cox and Cox have this beauty of a table in their collection but to be honest the budget was running thin by this time and I needed to spend about £50 rather than the best part of £200 so off we popped to Ikea and snapped up a Vittsjo Laptop Table for £30. At a metre long the proportions were perfect for the space under the window so we set about with a few alterations to make it complement the room.
- First I put together the table omitting the shelf (which is designed to hold a laptop) and the glass top
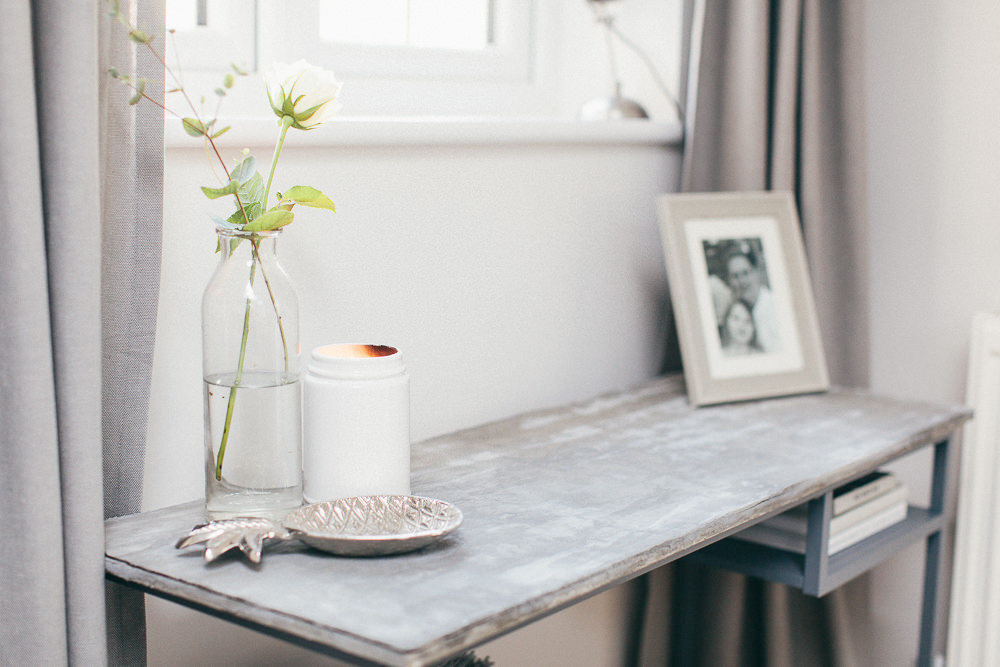
- Next James sprayed with three coats of Gold Montana Acrylic Spray Paint in ‘Gravel Grey’ spraying the shelf separately to get an even coverage
- Next we nipped off to B&Q and bought a plywood off-cut for a £1 and a bag of cement
- James cut the plywood to size with a saw and then screeded the top with a thin layer of cement and water mix. This is just a fancy way of saying he applied a coat of cement with a tile grout float (you can see this in the step-by-step image above)
- After leaving to dry overnight he then added another thin layer
- When dry he sanded back with a light rub of glass paper and secured the top in place with a few screws
Voila. A one-off concrete table for less than £40. Truth be told we’re considering redoing to add a thicker top to the table to give it a bit of a chunkier feel, however for the moment I’m pleased to have a new bit of furniture for a bargain price.
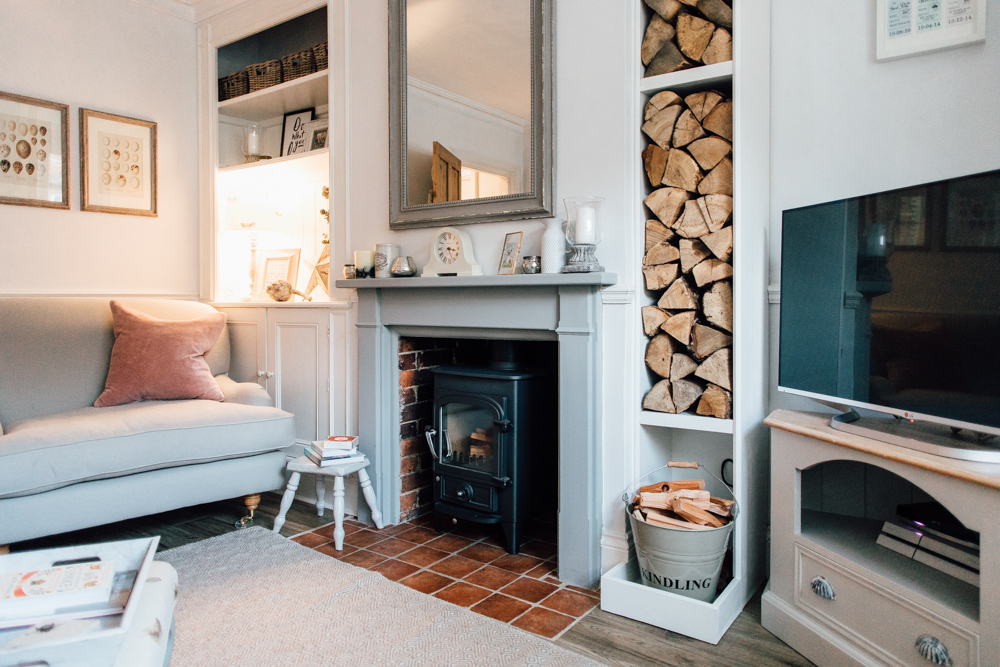
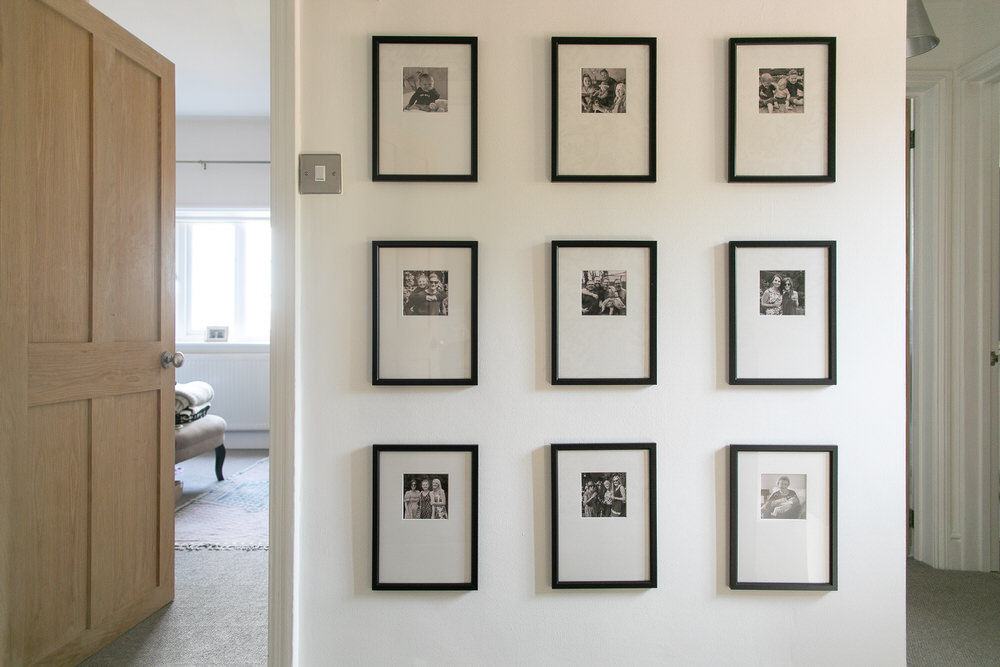
I am back bright and early on Monday morning to share the full reveal of the room (including the gallery wall you can see sneaking into one of the pics above). Thanks for bearing with me as I’ve droned on about this makeover for the last month.
Any other Ikea hacks you’d like to share? Have you been getting busy with any cement or concrete in your own home? Don’t forget to tag your own room makeovers with #RockMyRoom over on instagram so we can all take a butchers. Until Monday…



Wow Lauren this looks amazing! Love a good ikea makeover!
I’ve really enjoyed following the series – the room is looking fab and you’ve inspired me to take on TWO of the rooms in our new place – one is taking a bit longer than expected but the other (our very first room makeover!) is almost complete and painted a lovely warm white – the RMS post on choosing the right white was so helpful! I’d still be dithering in B&Q now if it wasn’t for you guys!
K x
Oh Katie, two rooms? You legend! Glad we’ve helped you choose the right white – which one did you go for? x
Ha! In fairness one is the downstairs loo so essentially a cupboard and my husband and father in law have done most of the work. We’ve painted it Timeless by Dulux as it is quite a dark little space. Very pleased with it!
The other room did require some 40 hours of wood chip removal though so I think we earned some stripes there (as well as ruined fingernails!). Now on the hunt for the perfect “bedroom grey!”
K x
You deserve a medal for wood chip removal Katie.
Perfect grey post coming up in March so stay tuned x
Can you be my interior designer please?? Seriously it looks fab and I’m thinking a perfect idea for beauty table in the bedroom!! Iv been searching for that for ages! When you say screeded?? What is this?? And what does the acrylic spray disguise? I’m really tempted to have a go! Apart from the cement bit that’s clearly not a job for me ?! Can’t wait to see the whole room! We have just ordered our log burner and hope to start our room next month/early April! Will no doubt be asking you for tips! Xx
Hi Alex, I’ll go back and add a bit in the post about ‘screeding’ – basically it’s just a fancy way of saying he put a layer of concrete on 😉
The acrylic spray was to turn it the metal framework from black to grey.
Yay for log burners! Make sure you keep us updated with your progress x
I’ve been contemplating this console table and now you’ve inspired me to make the purchase and do a ikea hack. It looks great! Looking forward to seeing the full room together.
Yes do it Rach!
Absolutely LOVE this and seems so very simple! Or at least you’ve made it look that way!
I promise you Kelly it’s as simple as it looks x
That looks fantastic! We’ve been considering a similar hack with the Vittsjo TV unit, but this time replacing the top and shelves with reclaimed scaffolding boards. I think you may have just inspired me to stop thinking about it and actually get on with it!
This sounds fab Sara. Hope you get to tackle it soon x
Wow Lauren you really have got the vision. Looks beautiful.
Aww thanks Jenni x
Love an ikea hack, love it and think a chunky slab on concrete would look awesome. I’m looking for a ikea something to add a marble top to for bath side table/ stool. we’ve painted a sink cabinet for our bathroom and used a kitchen cupboard to turn a tricky corner hiding pipes into a built in towel cubby. Just tagged some pics on instagram
Love the floor Rachel! Looks brilliant x
Amazing!!!
I love an ikea hack, and have spent far too many evenings on Pinterest looking at them!
This is definitely one of my favourites, table looks brilliant. You are so clever.
Loved this series.
Thanks so much Emily x
The killer question: do you have a use for the glass top that came with the table?? 😀
Not yet Kitty but I do need a pane of glass for a party project I’m working in 😉
This looks amazing! How many cans of the spray paint did you go through? I have the coffee table version of this and I am tempted to spray it cold or copper xx
Only one can Hannah and I’m pretty sure there’s some left. Copper would be epic x
Lauren this looks fab, and easy enough that I’m actually thinking about having a go. However, I am DIY inept, so just wondering how you screwed the top to the base of the table? Are there holes in the frame or did you have to drill them? SO looking forward to seeing the room reveal! 🙂
The holes needed to be drilled Tracy but it’s really thin metal so really easy to do. The bottom of the table top was left as ply so it was very easy to screw a few holes into it x
Can you report back in a few months on how well the cement holds up? I’ve always wanted to try doing that but been worried about how long it would last.
Ideally I’d like it for kitchen work top but have gone for reclaimed science lab work tops instead. Will probably put it in the utility room instead now.
Well done tho. It looks amazing!
Hi Alice, the concrete worktop I had in my old house held up really well – all the details here – http://rockmystyle.co.uk/laurens-house-downstairs-bathroom-revealed/
x
I actually had a sneaky peek at this table just a few days ago folks and it is as gorgeous in real life as it looks in the pictures. I confess I took a few sneaky pictures on my phone to show the boy when I got home. Our Lauren is a real life interiors genius! xx
I can’t steal your crown Lolly-la-pop. Thanks for the praise though you little gem x
You really are a very stylish girl.
Absolutely love it. Such a simple idea but complete genius xx
Mwah. You are always so sweet you lovely lady x
I love your curtains! Can I ask where you got these from? We’ve just converted a barn recently. I’ve done without curtains for a while now, but as its getting much brighter on a morning I am in desperate need of some!
Thanks Claire, they’re just Ikea Ingert ones so very cheap! They’re not particularly thick but do the job x
Absolutely love the table, can I ask the colour of the paint used for the wall in the background.
[…] ikea vittsjo laptop table white – Source […]
Hi Lauren, I know it has been a few years since you posted that hack but am hoping you might remember still how many of the spray paints you needed to re-color.
Needless to say this idea with the table is awesome 🙂
Greetings from Berlin,
Antje
Hi Antje, it was just one can.