You may remember back in May I wrote about my plans for a sunny patio near the end of the garden. As ever, you were all really helpful with the comments and reader Emma actually inspired us to think differently about the positioning of the paved area. Taking into account the fact our neighbours had one of their trees removed leaving us with a sunny area that had previously been in shade, we decided to pave the area just up from the original proposed site to make the patio less ‘plonked’ and more intentional.
We usually do most home improvement jobs ourselves. Well when I say ‘we’ I really mean James, but decided to hand this one over to the professionals. To be honest I wanted to enjoy the garden in 2017, not 2019. Work started the day James flew off to New Zealand and as it happened I was in London for a couple of days with work so at the end of day two I have to admit to pulling up on the drive with a bit of trepidation. Thankfully due to the joys of WhatsApp everything had gone to plan.
I’ve included some of the progress shots in the header above so you can see the hardcore going down and the slabs being put in place. In total it took three days from three men (so nine days of labour) to transform the under-utilised patch of grass and shrubs into our outdoor lounge. Although the landscape gardeners still need to pop back to turf the area around the edge.
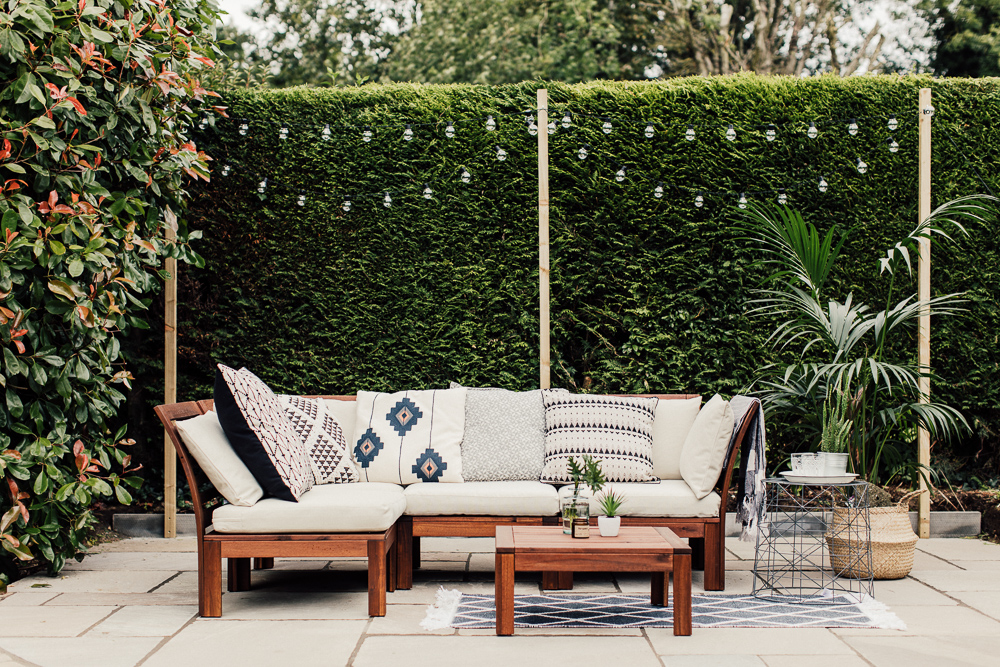
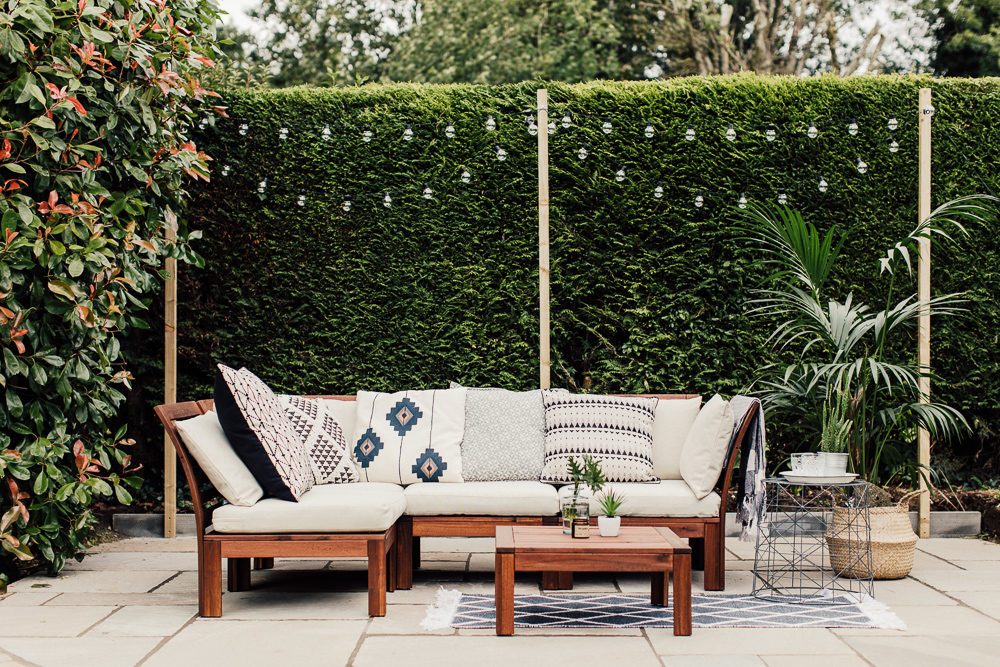
We had originally spoken about constructing a pergola of some description over the top of the area and we haven’t ruled it out, however this year I just wanted to get the festoon lighting up. James bought three lengths of pressure treated timber suitable for outdoor use and secured them to the rear of the patio. The landscapers had to dig really deep to level out the ground and therefore had to put in a concrete barrier almost like a mini retaining wall which was perfect for securing the wooden struts in place. We then added galvanised hooks which make it really easy to take down and put up the lights when they’re not in use. The festoon lights are ones I picked up from Next earlier this year. We do have a lot of outdoor power sockets already in the garden but I’m waiting for the electrician to come next month and extend the power down here.
With the slabs all in place I went on a mission to find something to sit on. The most inexpensive, flexible option I could find was the Ikea Applaro which comes in individual pieces to put together in any configuration that takes your fancy. I like the idea we can keep adding to it over time and extend out the seating if the mood takes us.
I then piled in a few cushions from Next and B&Q, dragged out a rug from our bedroom and planter from the living room to get the spot ready for a few snaps. I need to put it out there that none of this gear is waterproof so I’ve only been bringing it out when the weather is kind. I am on the hunt for more durable replacements however the budget is running a bit low at the moment.
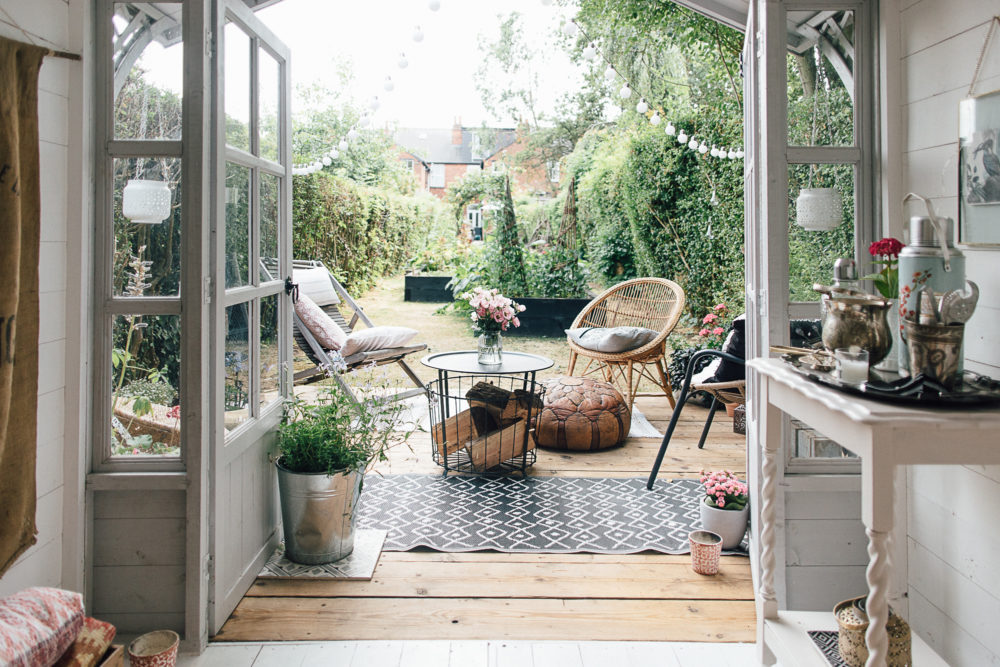
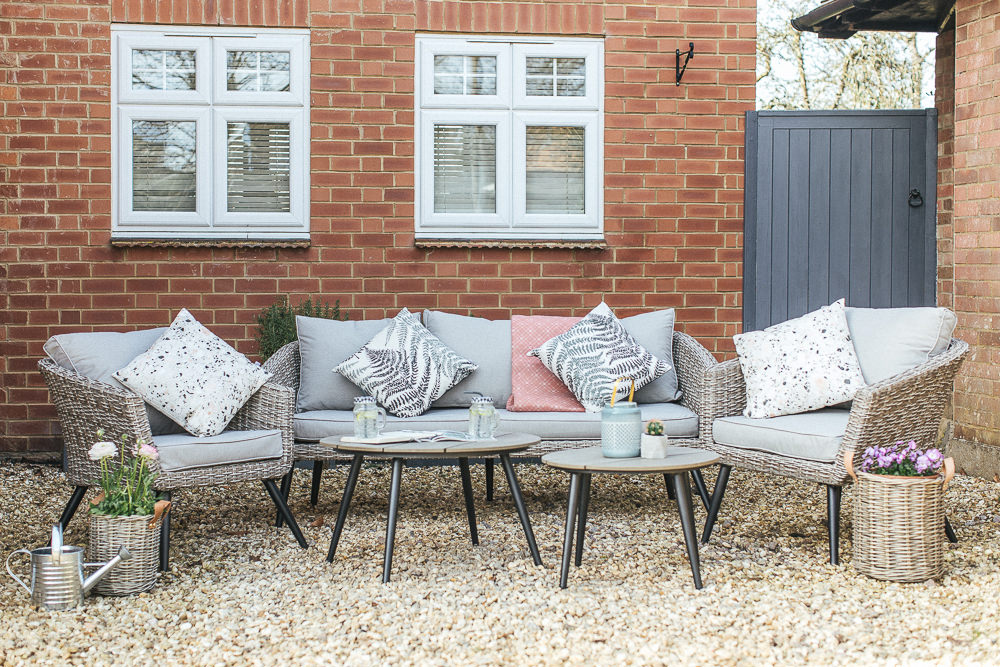
As you can see from the images in the header, the top patio nearer to the house needs a bit of TLC. The slabs for both areas are the same but the bottom patio obviously needs to age. This weekend we’re hoping to finish off a bit of a DIY upcycle on the wooden outdoor table and hopefully I’ll be able to share a few photos soon.




It looks like such a lush little oasis x
Oh thanks lovely. Currently looks a bit bare as all the pretty bits are inside and just a load of wooden seats. Bring back the sun! x
Lauren!! This looks absolutely amazing! I love everything about it. You have such an eye for style. Yes bring on the sun, and you can then both enjoy it.
Have a lovely weekend x
Thanks so much Ashu. You’re very sweet x
That’s me! *jumps up and down in excitement* ooh it’s looking lovely Lauren! You could always waterblast the old tiles (if you think they’d stand up to it) to clean them up and make them fit with the new a bit better? As you say the new ones will age over time and it will seem less obvious. The festoon look guys look great and give it that extra bit of polish – it’s amazing how little things do that isn’t it?
Thanks so much Emma. It was a lightbulb moment!
I kind of want something inbetween I think – the new slabs to be a bit more aged and the old ones to be a bit more youthful!
Pleased to be of help! Ah in a few months I’m sure it will look more settled in.
Yes give the old patio a pressure wash, it’s amazing the difference it makes. We didn’t even realise our patio slabs were yellow (yellow?!?!)
Gorgeous view out to the corn fields beyond.
Interested to see what you do with your old table upcycle.
So far it involves grey paint and scaffold boards Victoria. Not too sure how it’s going to work out!
Gorgeous! Can I ask which slabs you went for? We are currently planning a patio and getting a bit overwhelmed with options.
Me too Anneliese! I seem to be going round in circles so would be interested to know as well Lauren.
Hi Anneliese and Nicola, sorry I should have included this in the post. We went for Raj Green Indian Sandstone Paving. Not sure why they’re called green as they’re far from it! x
Looks amazing Lauren!! x
Hi!
Is this beige or white? I’m looking on the ikea site and it seems white is the big full size and beige is smaller
Hi Lauren, this is beautiful.
I am wondering if white cushion get dirty too easily. Do you recommend this colour?
[…] many people with small patios because of how easily it can be configured to fit your space. So when Rock My Style‘s beautifully styled ÄPPLARÖ outdoor sofa showed up on my Pinterest feed, I just had to […]
this was so long ago but any chance you can share where the metal wire side table is from? I love your space so much