
Since moving in to our new build I have fallen in love with wallpaper. The builders did such a fab job of painting the rooms that I was reluctant to paint over them, and I don’t think you can beat a crisp white finish. However, I am happy to inject a splash of character using wallpaper to create a feature wall.
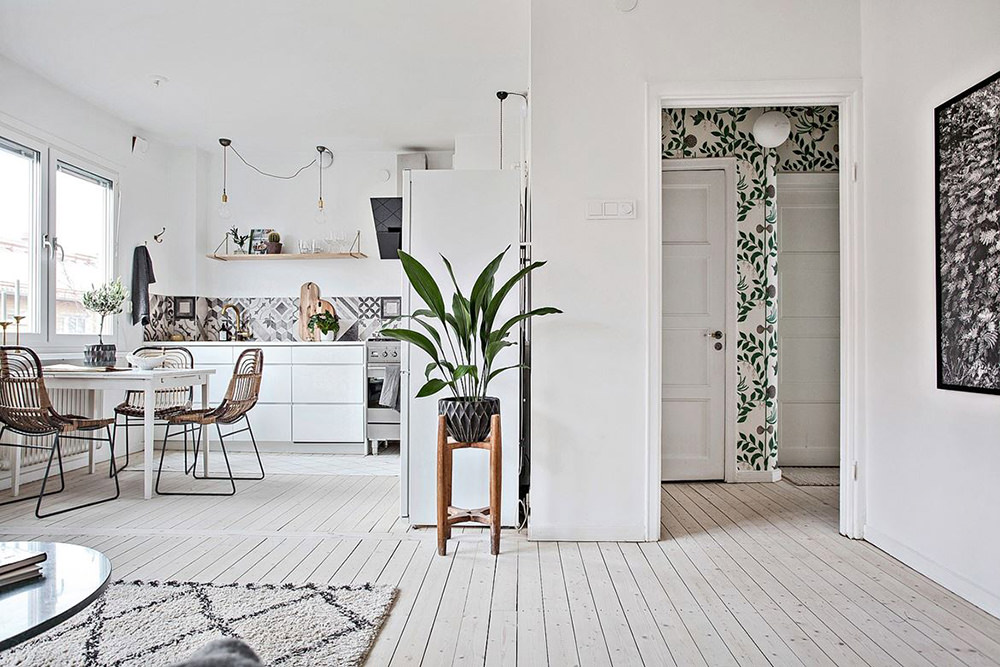
I’ve tended to go for wallpapers that have a white background so they kind-of blend in to the adjoining walls. In our lounge I used Woods and Pears behind the fireplace. In our downstairs loo I chose a fuschia pink flamingo print. (I’ve since discovered that our friends use this as a way to persuade their little girl to go for a wee… “Come and look at the ‘mingos’ Ruby!”).
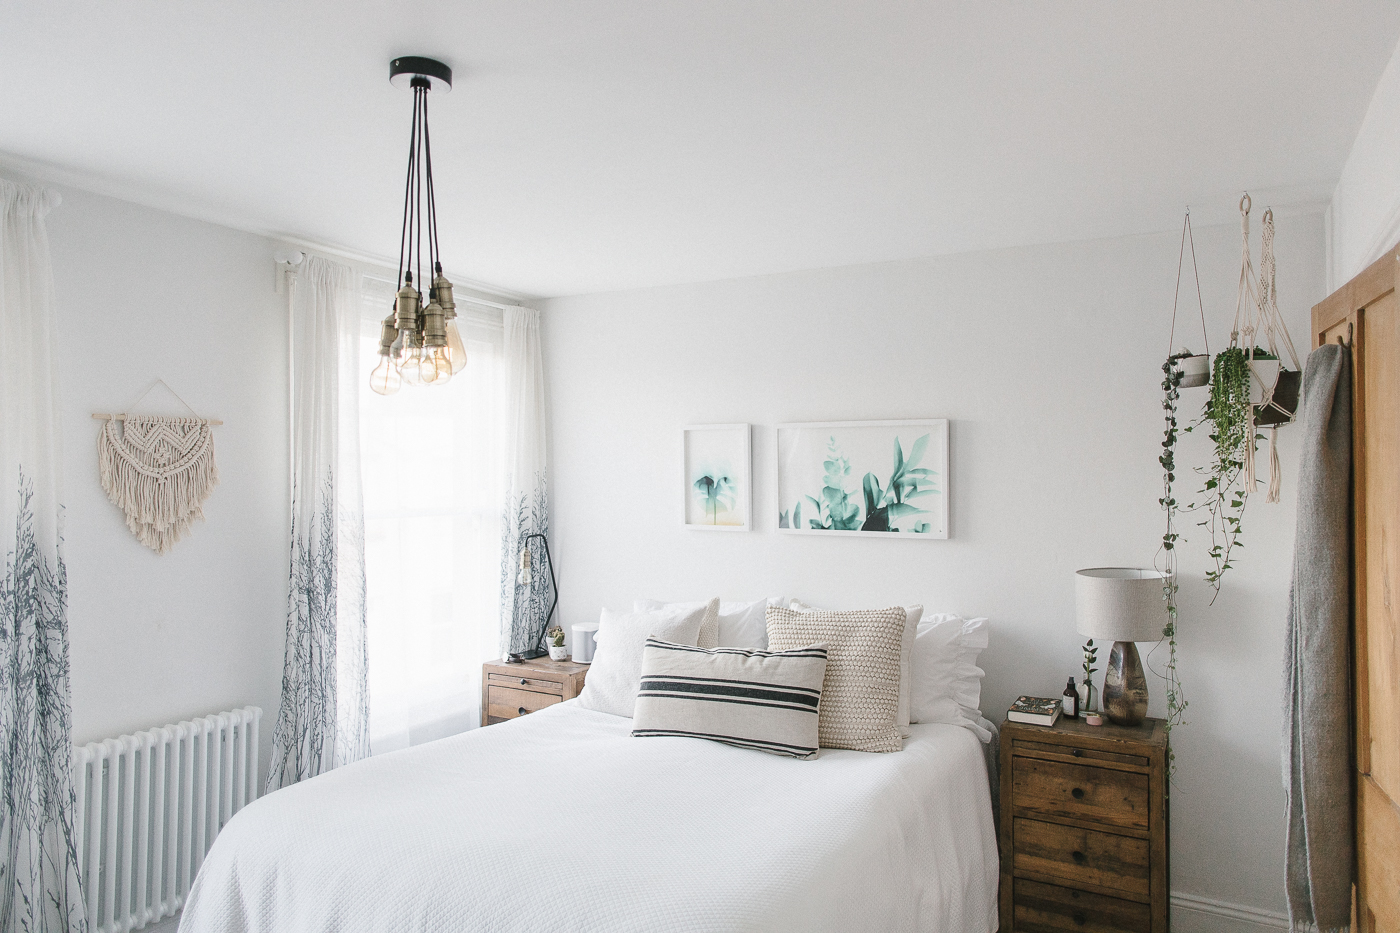
In our bedroom I went for a soft grey palm print. I don’t think I’d want to see such a crazy print whilst lying in bed – if there’s one place you need to be able to relax it’s the bedroom – but behind the headboard it works fine. And I have just used the cutest sleepy animal faces wallpaper in the nursery in preparation for baby boy’s arrival. I will reveal more over on Rock My Family soon…
Each of the feature walls have taken less than a day per wall and it’s a relatively easy task. I managed to wallpaper our bedroom with a broken finger and the nursery at seven months pregnant which goes to show that pretty much anyone can do it.
Now I can’t profess to being some wallpaper wizard however Rich’s dad has showed me the ropes and he has papered a fair few walls in his time. So hopefully these tips will come in handy for anyone who’s considering giving wallpaper a whirl…
Stuff You’ll Need
Wallpaper paste (I usually go for B&Q’s bog standard adhesive) and pasting brush
Wallpaper hanging brush
3-in-1 wallpaper hanging tool (this one is excellent)
Scissors or craft knife
And the wallpaper itself. Obvs.
Preparation is Key
1. Clear as much furniture from the room as possible. You need to be able to have a long stretch of floor to lay the paper onto.
2. Give the wall a good scrub down and sand away any lumps and bumps. I’ve also used a PVA/water mix on the walls the night before before wallpapering to ensure that the wall is extra sticky. Probably not necessary but good to do if you have time.
3. Measure the width of the wallpaper and draw a vertical pencil line down the wall to give you a rough guide of where it will need to be hung.
4. Slap on the wallpaper paste.
5. Measure the height of your wall and cut your first strip. I try to allow for about 10cm extra at the top and the bottom of the strip so it’s easy to cut off this excess paper in a clean line once it’s been hung.
Go For It!
Start at a corner – I find starting at the top left hand corner of a wall works best. It’s really important to get the first strip lined up properly as it will make hanging subsequent strips so much easier. As you’re applying the paper to the wall use a brush or the 3-in-1 tool to smooth it out and push any excess paste out from the edges. Once you’re happy the first strip is on straight, cut off the leftover paper at the top and the bottom so that the paper fits nicely between the ceiling and the skirting board. And now you’re ready to start on your subsequent strips – see #3 above.
Save All Scraps
This is one thing that really irks me when I’m in the process of wallpapering as I am such a neat freak that I would much rather be scrunching up the unused scraps and putting them straight in the bin. However if it hadn’t have been for Rich’s dad stressing that we needed to keep every single leftover scrap when we papered the lounge then my purse would be £78 lighter, because when we got near the end of the wall we were about five inches short. If it hadn’t have been for using the leftovers to fill in this gap I would have had to shell out for a whole new roll, of which mere inches would have been used. This would have seriously p*ssed me off!
And the same goes for when the job’s finished. Put all leftover usable scraps of wallpaper in the loft – you never know when a toddler will get Sharpie-happy on those walls and you need to re-wallpaper the smallest section.
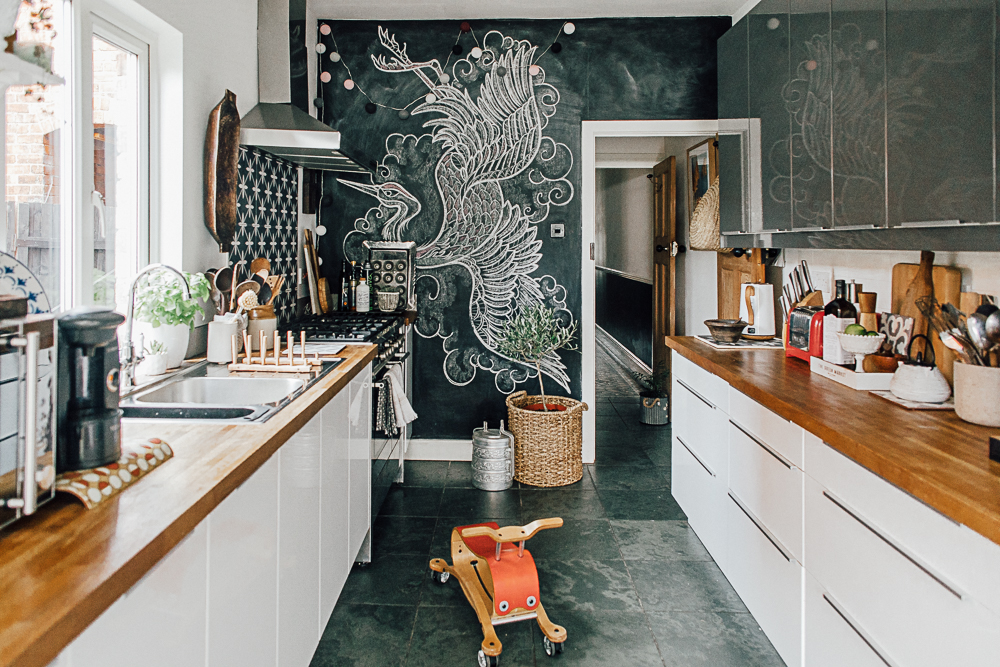
Do let me know the wallpapers you’ve used in your house, or if you’ve seen any irresistible ones recently. I am currently trying to persuade Rich that we need Secret Garden (the wallpaper in the header image) up our stairs…how incredible does it look in this house tour?!


Love this post Lisa! I’m ashamed to say that I’ve never wallpapered a room in my life but my mum is a dab hand at it and has completed entire rooms on her own. I’m seriously tempted to give the whole thing a go…perhaps in the downstairs loo to start with. Who knows where we’ll go from there.
Thanks lovely ?
Once you get the hang of it (mum pun) it’s really quite easy and you get such a sense of satisfaction when you get the join between two strips spot on. Gosh I need to get a life.
I say go for it in your downstairs loo, me and your mum can show you the ropes! X
Hi Lisa, LOVE love love this post- I have ALWAYS wanted to have a go at wallpapering but when you’re buying wallpaper that’s £90-£150 a roll it makes me so nervous about screwing up!
I think I might try it in my little girls rooms:https://www.wallpaperdirect.com/products/scion/april-showers/129511?gclid=CjwKEAjwh9PGBRCfso2n3ODgvUcSJAAhpW5oF-YCGa3M944OMnJII0PArFcGZVLDRLKDdvRxgP4g_RoCAIvw_wcB
My question is- what do you do with the excess paste?? What if it gets on the front of the wallpaper? Will it leave a shiny residue?
Sorry for all of the questions!!
Thanks so much- love your posts (and your post about your holiday to Dubai has inspired us to book for Christmas!) xxxx
Ahh thanks Lauren!
That wallpaper is a gorgeous find, I love the Scion stuff. And such a good price too?!
I really stressed out about excess paste the first time I wallpapered but it wipes off really easily with a damp sponge. If you use something like the 3-in-1 tool to push any excess out from under the edges of the paper and then just give it a wipe I promise you it won’t be noticeable or leave shiny marks.
And YEY for Dubai – so jealous. Hope you all have a lovely time x
Just wanted to second Lauren and say Lisa you made us consider Dubai as well for next year so thank you! x
You should 100% do it Nicola! X
I love all your wallpaper choices Lisa! The nursery one is so pretty – can’t wait to see the rest of it. We’re just painting all of our upstairs white (I know super exciting) as over the next couple of years we’ll be switching the rooms’ functions quite a bit so figured it might be the safest bet for now until we settle down a bit. I know you took down the wall paper in your living room – do you find it comes off neatly without damaging the wall? We’ve just taken down some ancient painted-over-a-million-times wall paper on the stairs and the whole lot needed replastering which is something I’d like to avoid but maybe a bit of pattern could give the rooms some personality. I’ve been looking at some cloud shaped removable wall stickers for Anna’s bedroom as she’s been declaring she needs blue in her bedroom ever since the decorator started and might be a tad disappointed with all the white.
You can’t beat a cloud theme! It’s what Lyra currently has in her room.
The wallpaper came off pretty easily in the lounge. It didn’t need replastering -it did need a good sand down but I think Rich only used two coats of paint once it had been sanded x
I love the nursery print from Hibou Home Lisa, I haven’t heard of this company before but their stuff looks lovely 🙂
It’s so sweet isn’t it. The wallpaper was really good quality too x
Love this post Lis! I’m very jel of your handy work…not brave enough to try it out myself, so good old Derek the decorator will be coming over to paper the down stairs loo in the summer.
And those ‘mingos have saved us many an accident ? Xx
Aim I will do your downstairs loo! Love the fact she calls them mingos xx
Just about to move into a new build – we’ve been told it’s maybe a good idea to wait before doing anything to the walls as cracks might appear over the first couple of years as the building ‘settles’. Did you wait at all?
I think we’d been in the house about ten months when I first wallpapered and it was fine. Good luck with the move x
Funnily enough I was browsing the wall paper section of John Lewis just yesterday – something about planning for our extension (which we finally have a start date for, whoohoo!) has made me look a bit more critically at other parts of our house, and I’ve identified one or two walls that could do with the lift a bit of pattern might add. For me it is particularly those through the door shots that get me.
Will have to file this one away for ‘when I actually get round to it/have the money’ as really the extension does take priority.
I could easily spend a few hours looking at all the books of wallpaper in John Lewis! It is all about those through-the-door shots ? Good luck with the extension, exciting stuff x
Has anyone ever considered using a “mural” wallpaper? My husband has fallen in love with this one for a wall in our bedroom, and I was initially keen, but now having second thoughts…
https://www.muralswallpaper.co.uk/shop-murals/woodlands-wallpaper-mural/
Hey Elisa – I have used this mural wallpaper https://www.muralswallpaper.co.uk/shop-murals/sea-trees-forest-mural-wallpaper/ on the wall behind the headboard in my bedroom – it looks amazing and I would definitely buy from them again 🙂
There are a lot of lovely murals on https://anewall.com/collections/wallpaper but they just seem so expensive!
Those are beautiful! Probably best not to show him…
Aren’t they! I would love to use the Jolie mural in Lyra’s room when it becomes a ‘big girl room’ so I’d best get saving! X
Hi Lisa,
Thanks so much for choosing our animal Portraits wallpaper and we’re excited to see your nursery reveal!
It’s gorgeous, I absolutely love it. X