
I don’t really remember my mum sitting down and making up her face before a big night out. I’m not sure if that’s because she didn’t (she always favoured a fairly natural look) or because by that point in the evening I had my nose in a book and didn’t really notice what anyone else was doing (yes, I was that kind of child).
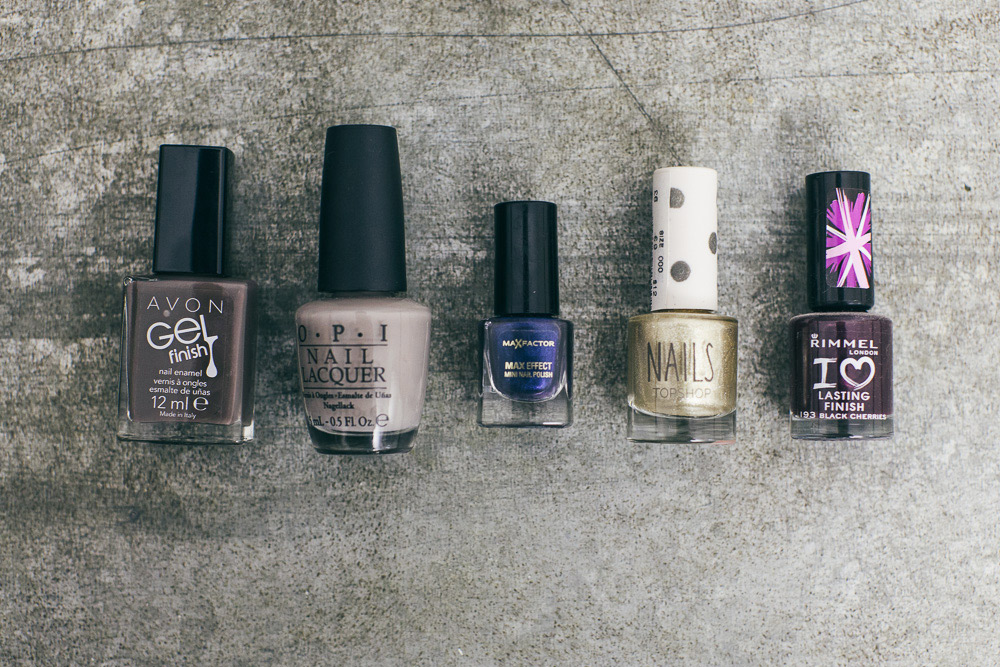
What I do remember is her making time, about once a week, to do a DIY mani (nail bars not being a thing in 1980s Yorkshire), a time-consuming ritual that involved her soaking, buffing, filing and, finally, painting her nails with whatever shade of red or pink polish she’d purchased from the Avon catalogue that month (I’m not sure whether Avon’s 1980s polish-palette was limited to red and pink, or whether those two colours were mum’s preference). Then she would sit still for as long as my sisters and I would allow her, waiting for her nails to dry.
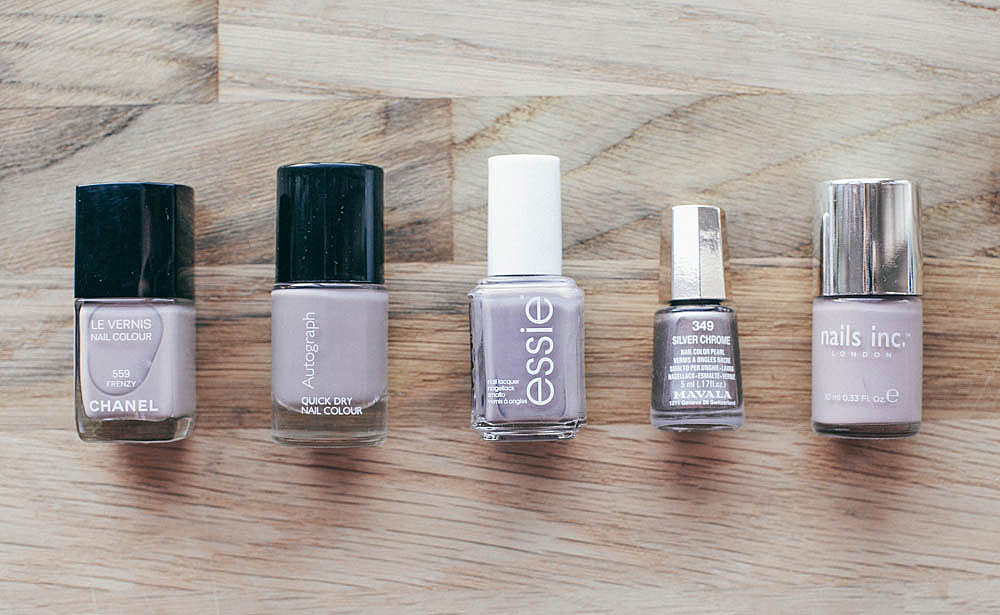
I’m sure it’s no coincidence that I favour a similarly natural look make-up-wise and that I love to look down at my hands and see ten perfectly manicured nails – even better if they match my toenails! – although I’m much more adventurous when it comes to colour (Essie’s aqua Turquoise and Caicos polish is one of my all-time favourite summer colours).
The closure of the ridiculously-cheap nail salon that I used to frequent, combined with an attempt to cut down on unnecessary spending have relegated manis and pedis to (very) occasional treat status. And so I’ve been polishing up (sorry, it’s hard to resist…) my DIY mani technique.
The biggest surprise is I actually quite enjoy it. When it comes to polish application it’s definitely a practice-makes-perfect kind of thing (not that I’m anywhere near perfect yet, but I’m much better than I was). Depending on how much time you have to hand (oh dear…) you can go one of two ways.
If you’re short on time, the speedy DIY mani takes just a few minutes (especially if you use a quick-drying polish). The deluxe DIY mani requires more time and products but will result in a longer-lasting finish and has the added bonus of carving out some relaxing me time. Charlotte and I put our heads together and came up with a definitive list of our best-rated DIY mani products. Any tips, tricks or must-buy products for getting that salon-mani look at home? Do share!
[ezcol_2third id=”” class=”” style=“”]
Deluxe DIY Mani
- CLEAN your nails with a cotton wool pad drenched in nail polish remover.
- ADD a few drops of cuticle oil to warm water and soak fingers for five to ten minutes to soften and nourish them.
- PUSH back your cuticles and trim any hangnails.
- CUT your nails evenly to desired length.
- FILE your nails with an emery board to smooth and shape rough edges.
- EXFOLIATE with a scrub.
- MOISTURISE with a hydrating hand cream.
- APPLY a base coat to each of your nails.
- APPLY three strokes of polish to each nail, one down the middle and then one either side.
- ALLOW the first coat to dry, then apply a second coat of polish.
- FINISH with a clear top coat to seal polish and allow your nails to dry completely.
- REMOVE any excess polish with a cotton bud soaked in polish remover or a corrector pen.
[/ezcol_2third]
[ezcol_1third_end id=”” class=”” style=””]
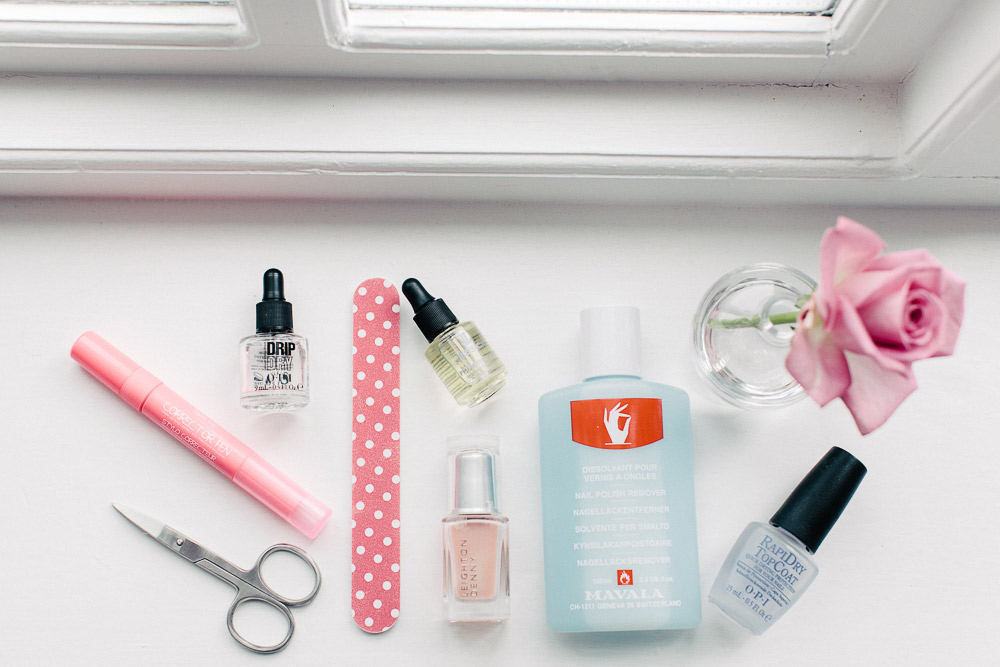
{Brilliant Buys}
- Mavala Nail Polish Remover £8.60
- Leighton Denny Under Cover £11
- OPI RapiDry Top Coat £14.50
- OPI Drip Dry Lacquer Drying Drops £13.95
- nails inc. Corrector Pen £11
- Jessica Phenomen Oil £9.50
[/ezcol_1third_end]
[ezcol_2third id=”” class=”” style=“”]
Speedy DIY Mani
- CLEAN your nails with a cotton wool pad drenched in polish remover.
- ADD a few drops of cuticle oil to warm water and soak fingers for five minutes to soften and nourish them.
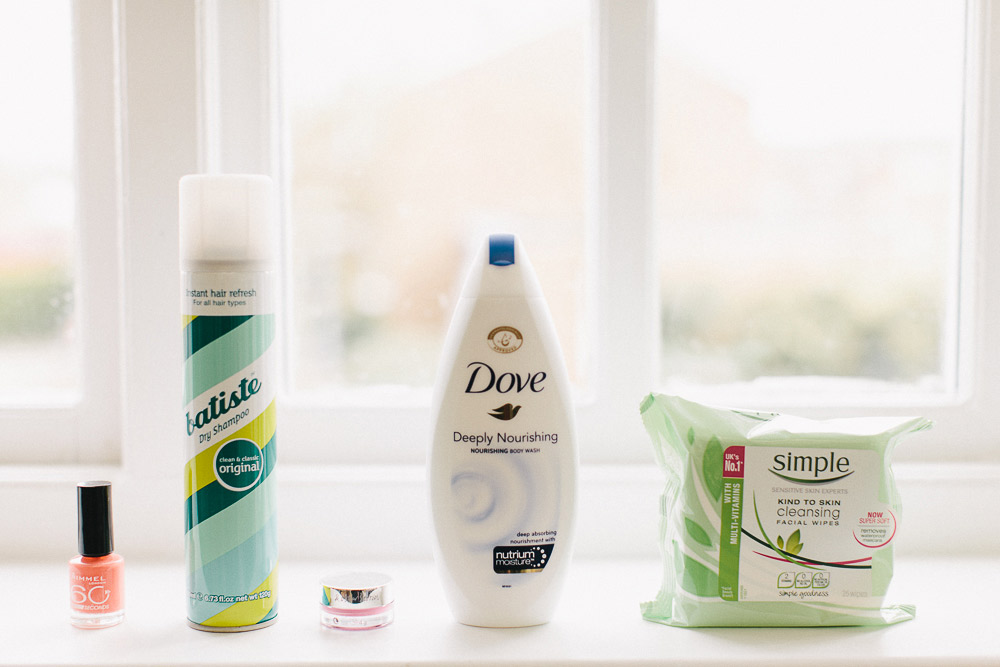
- PAINT your nails with a quick dry polish like Rimmel 60 Seconds Nail Polish.
- FINISH with a quick dry top coat.
- MAINTAIN your mani by adding another layer of top coat every three days.
[/ezcol_2third]


I use the Seche Vite dry fast top coat which dries nails almost instantly and gives a nice glossy finish. You can get it on Amazon for about £5/6. You need quite a thick layer of it but it means you can crack on instead of waiting ages for nails to dry.
And I just bought a correcter pen from primark for a quid!
Ooh, I definitely need to try the Seche Vite Dry Fast top coat, I’m terrible at ruining my hard work by doing something before my nails are fully dry. A quid for a corrector pen? Bargain! I didn’t even know Primark stocked beauty products…
I do an Essie rock base coat, then colour, then Sally Hansen instadri then colour then instadri again. Works a treat.
I am a big fan of Essie products so not surprised to hear that their base coat is good. Will look into the Sally Hansen Instadri too!
Victoria, how long does this process take altogether, and how long does it last? Do you use a thin layer of each thing? My sister is constantly telling me my coats are too thick!!
Yes I do thin coats of each and build it up. Sometimes I’ll even do three lots of each colour and top coat. Really does make them last. It doesn’t take that long to do, I normally do them in front of the TV on a Sunday eve and lasts well into the following weekend.
are you sure you cant just do mine? I don’t look after mine at ALL. I can’t even paint nails 🙁
I hadn’t painted my nails for years after some very messy failed efforts Clare! I gave a pot of Rimmel 60 Seconds a go and while the results were by no means perfect, they weren’t bad. Worth a try!
I’ll try… maybe I’ll post the efforts up for everyone’s amusement!
Do! I bet they are not as bad as you think, I’m the opposite, I think I have done quite an ok job only to realise on closer inspection that I’ve painted my cuticles and smudged my thumbs!
I have been using an at-home gel kit that I bought from Boots. I think it is called Sensationail and cost about £45 (on offer) and came with a couple of colours. After some pratice, I am able to get my gels to last 1.5-2 weeks if my nails are not on a growth spurt! Results are not quite comparable to salon nails but pretty close in my opinion. I tend to use it when I want a darker colour on my nails to avoid the “chippy” look but I use normal polish for lighter colours. I have been using L’Oreal polish which comes in cute little bottles for about a year. Good colour range and the light ones will stay looking reasonable for about a week and they are nice and easy to apply. I love a good home manicure session – although my husband complains about the smell!!!
[…] and all too often stain the nail underneath. Charlotte and Miranda came up with a smashing list of nail related must-haves in our manicure post so it’s worth a read for their top picks for nail varnish remover and the like. Perhaps I’m […]