
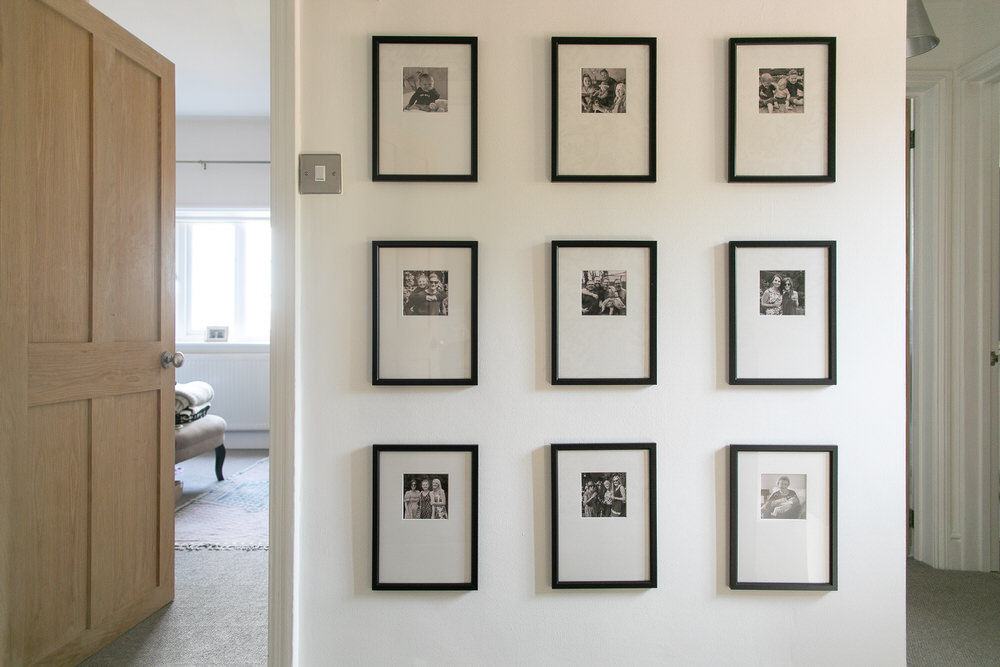
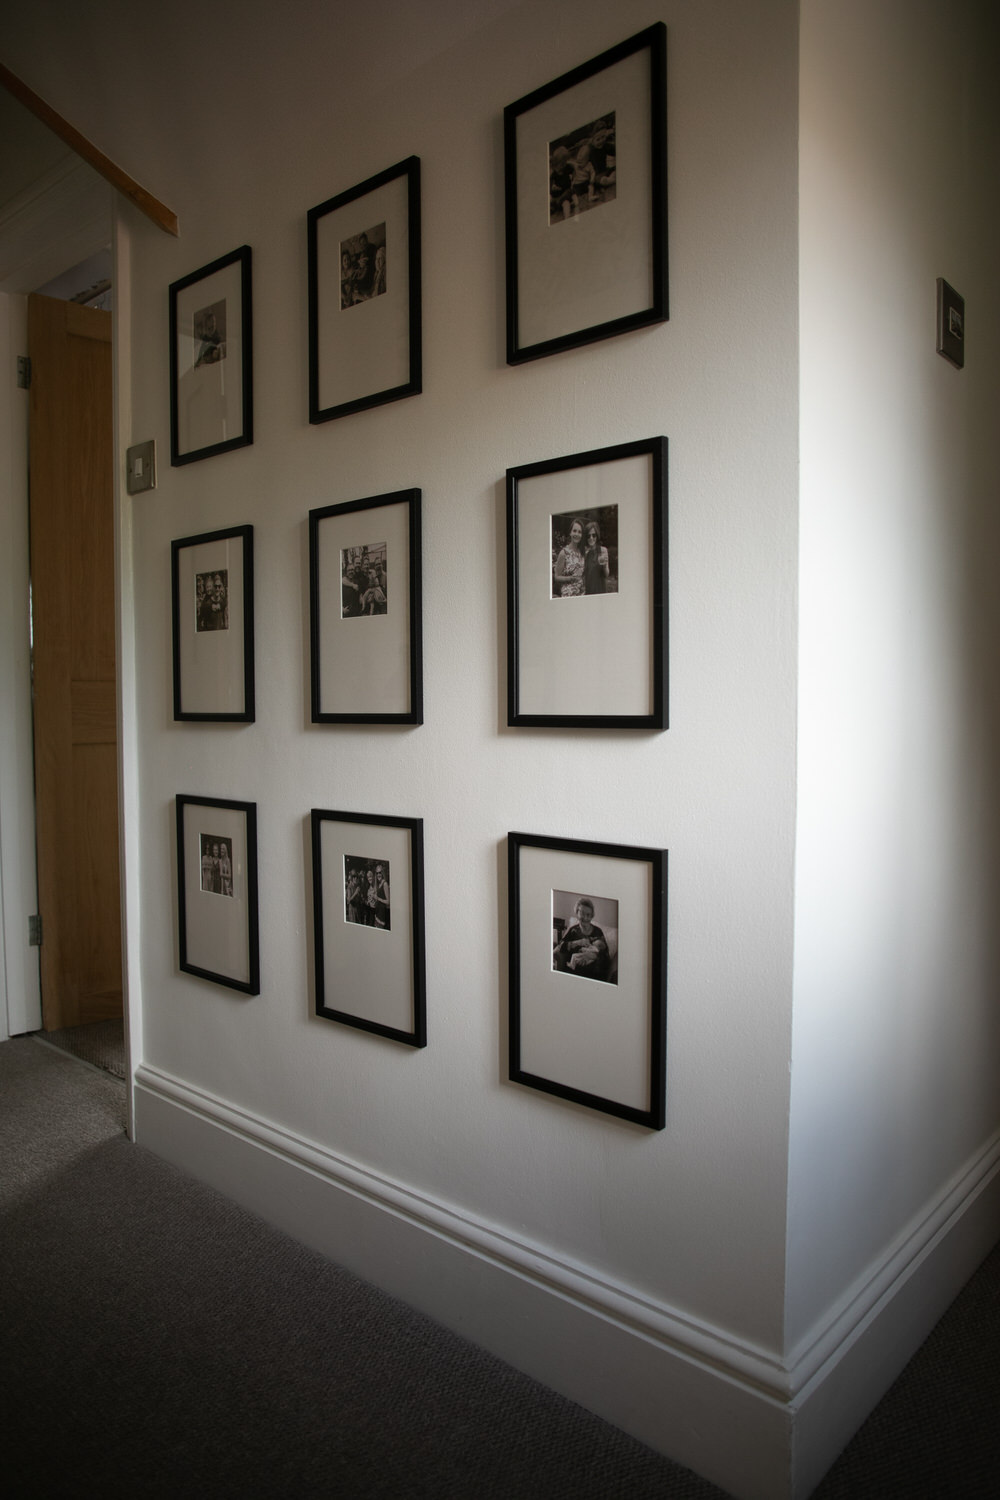
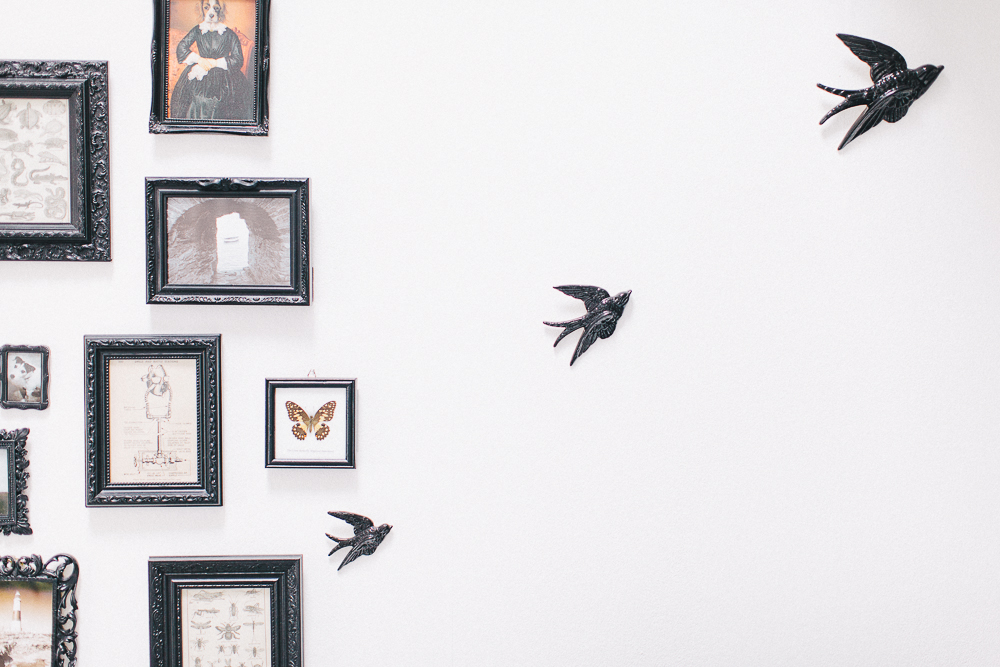
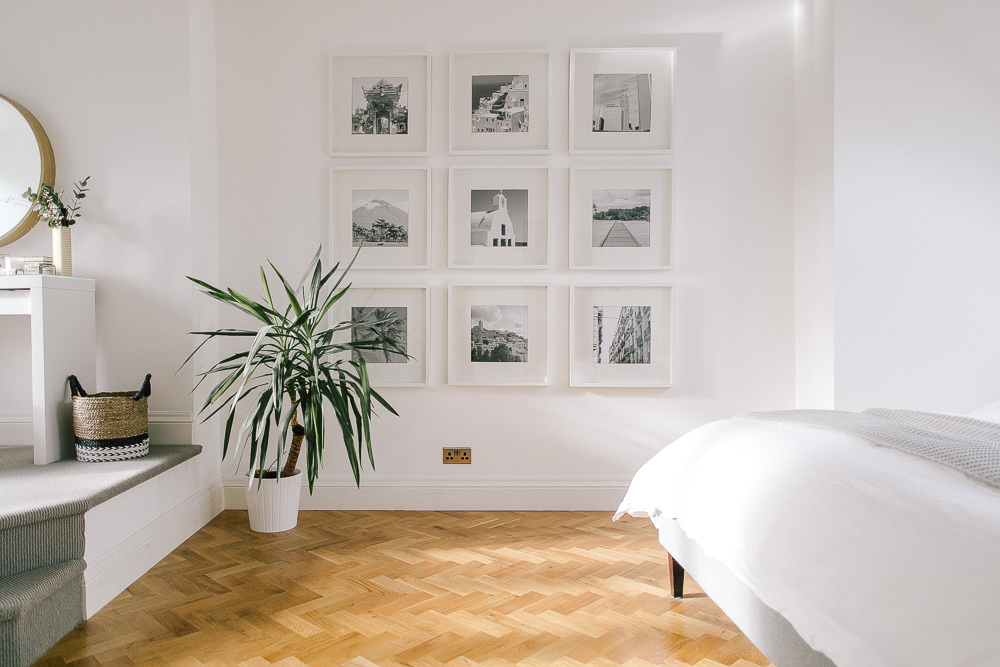
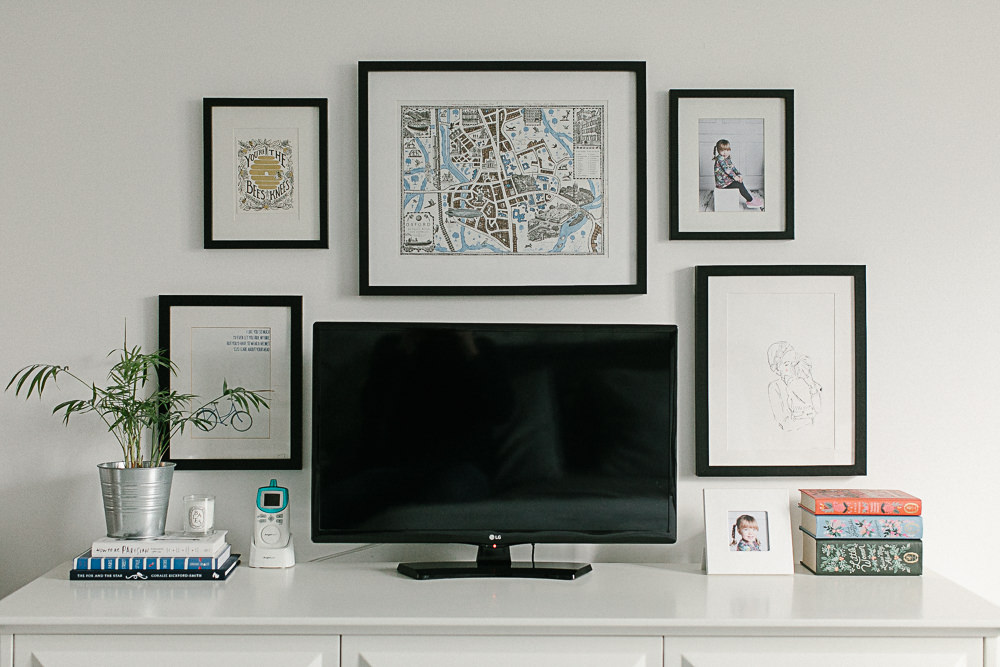
A month or so ago I set up a grid style gallery wall on my landing. Inspired by the beautiful home tour of Leoma, from Style The Clutter, I’ve wanted to do this for absolutely ages.
I will hold my hands up and say I’m a bit of a stickler when it comes to gallery walls. As much as I admire an artfully curated collective with higgledy-piggledy placed frames, it will make me feel a bit antsy if it were on my own wall. I know. I’m just so uptight.
The wall in question has a right-angled corner round to our bedroom and bathroom. Any thick frames would protrude off the wall and were likely to be knocked so I went as thin as I could go. Thankfully The Range had some dirt cheap A4 numbers for less than 3 quid each.
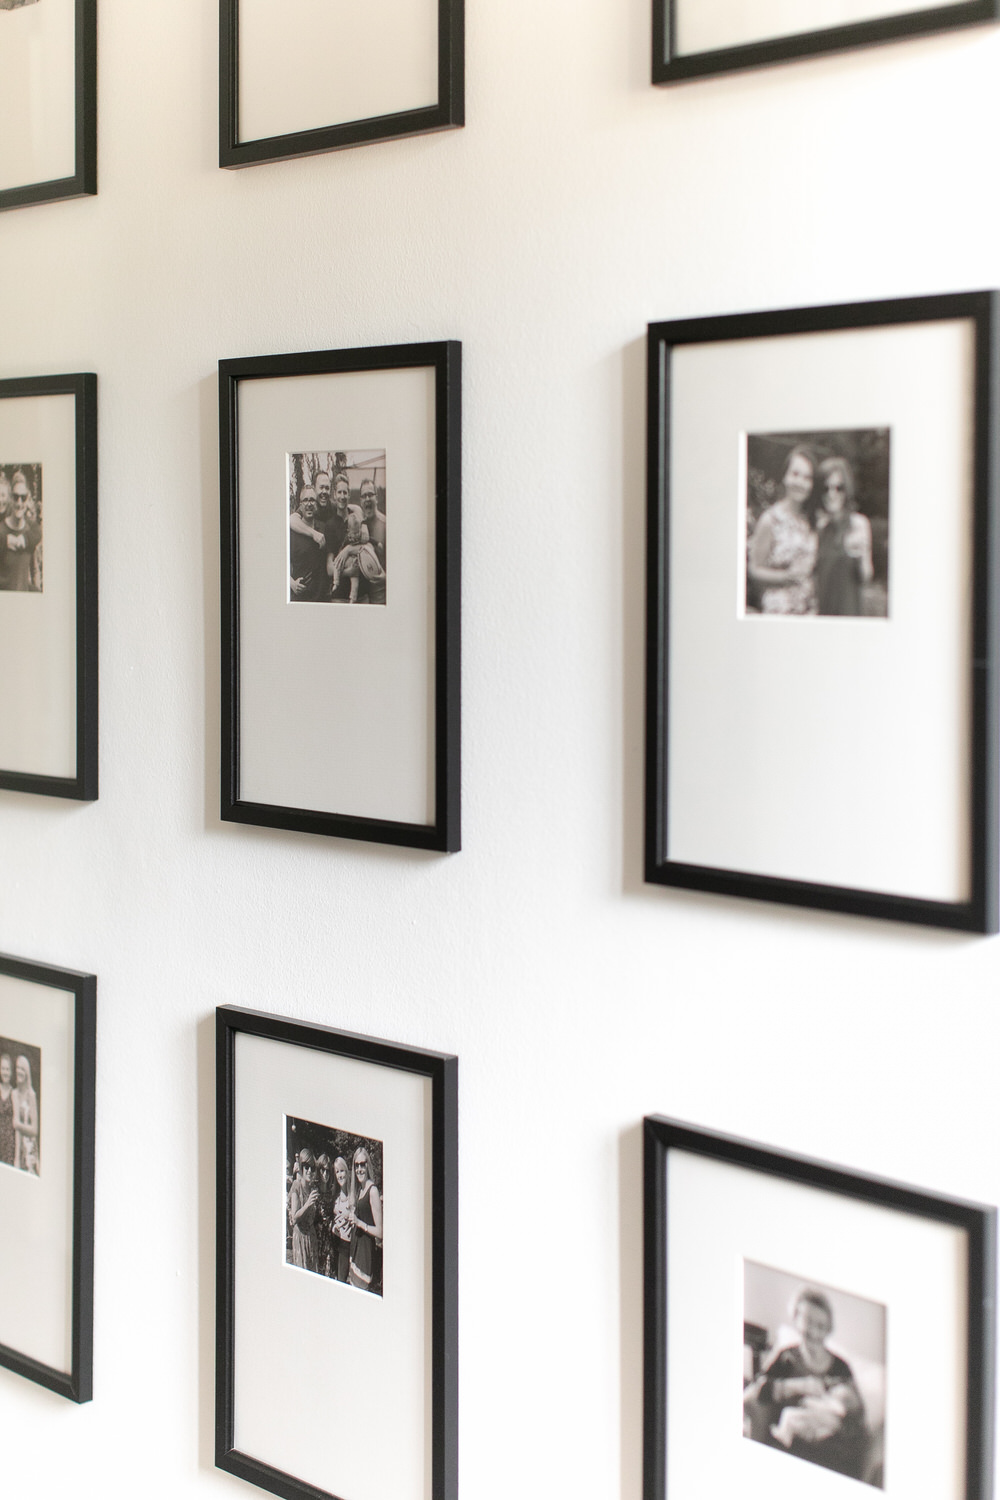
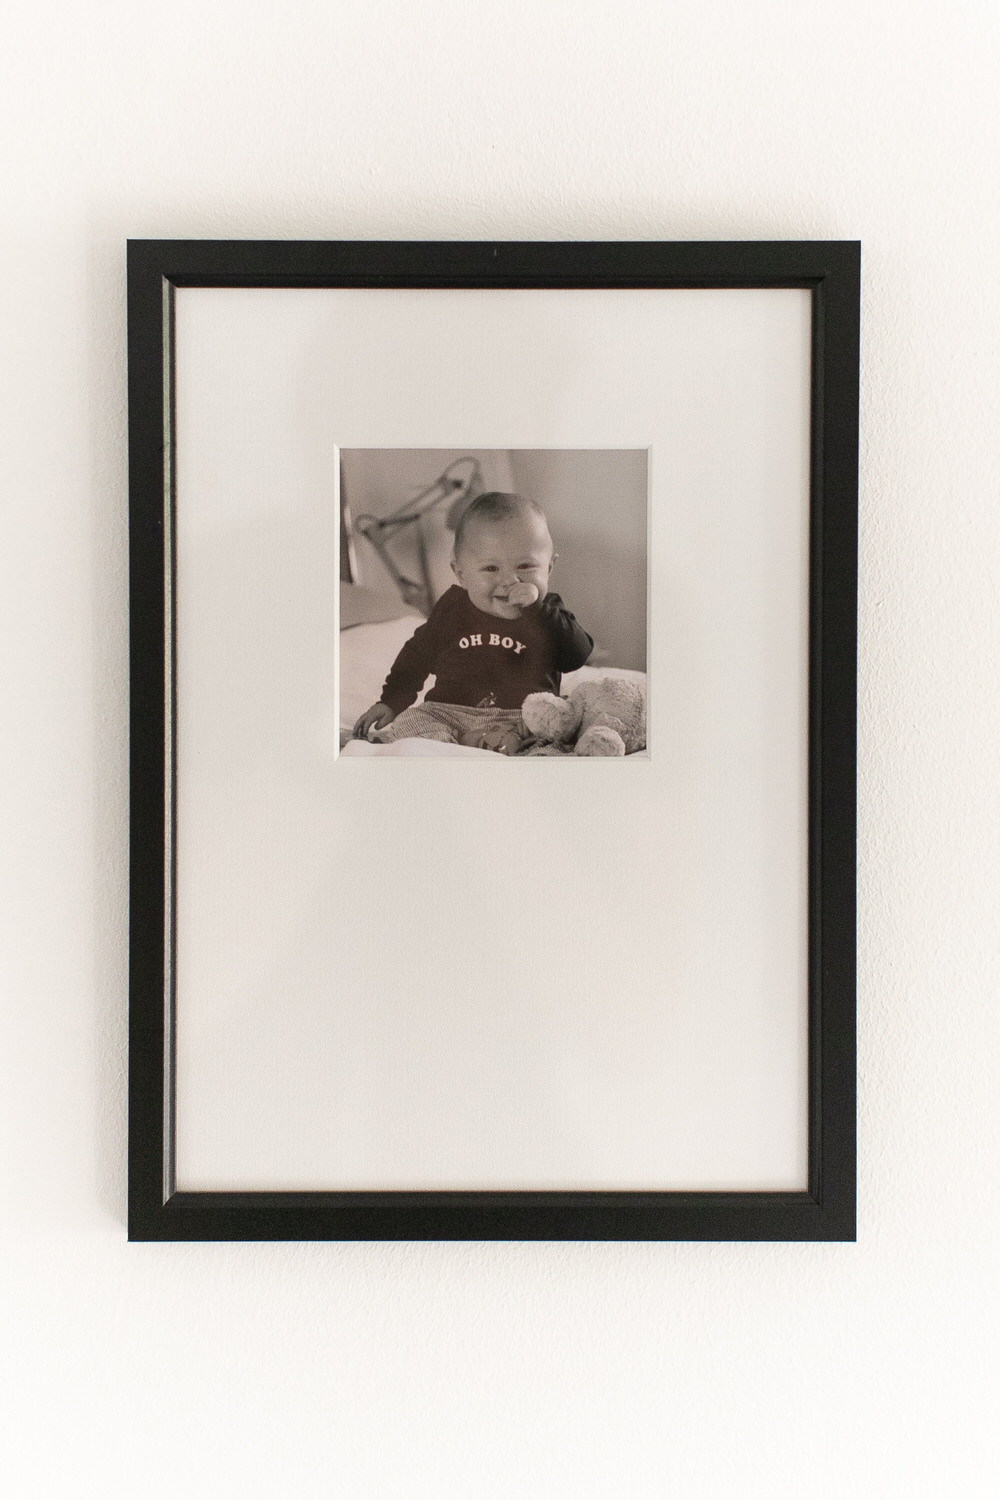
I went to a local framer to make custom mounts. They were only £2 each and I think each frame looks like it cost far more than it actually did. I had the apertures made at 4 inches to fit the height of a regular 6×4 photograph. Once the photos were in place then I was ready to mount on the wall.
Grid Style Gallery Wall Tutorial
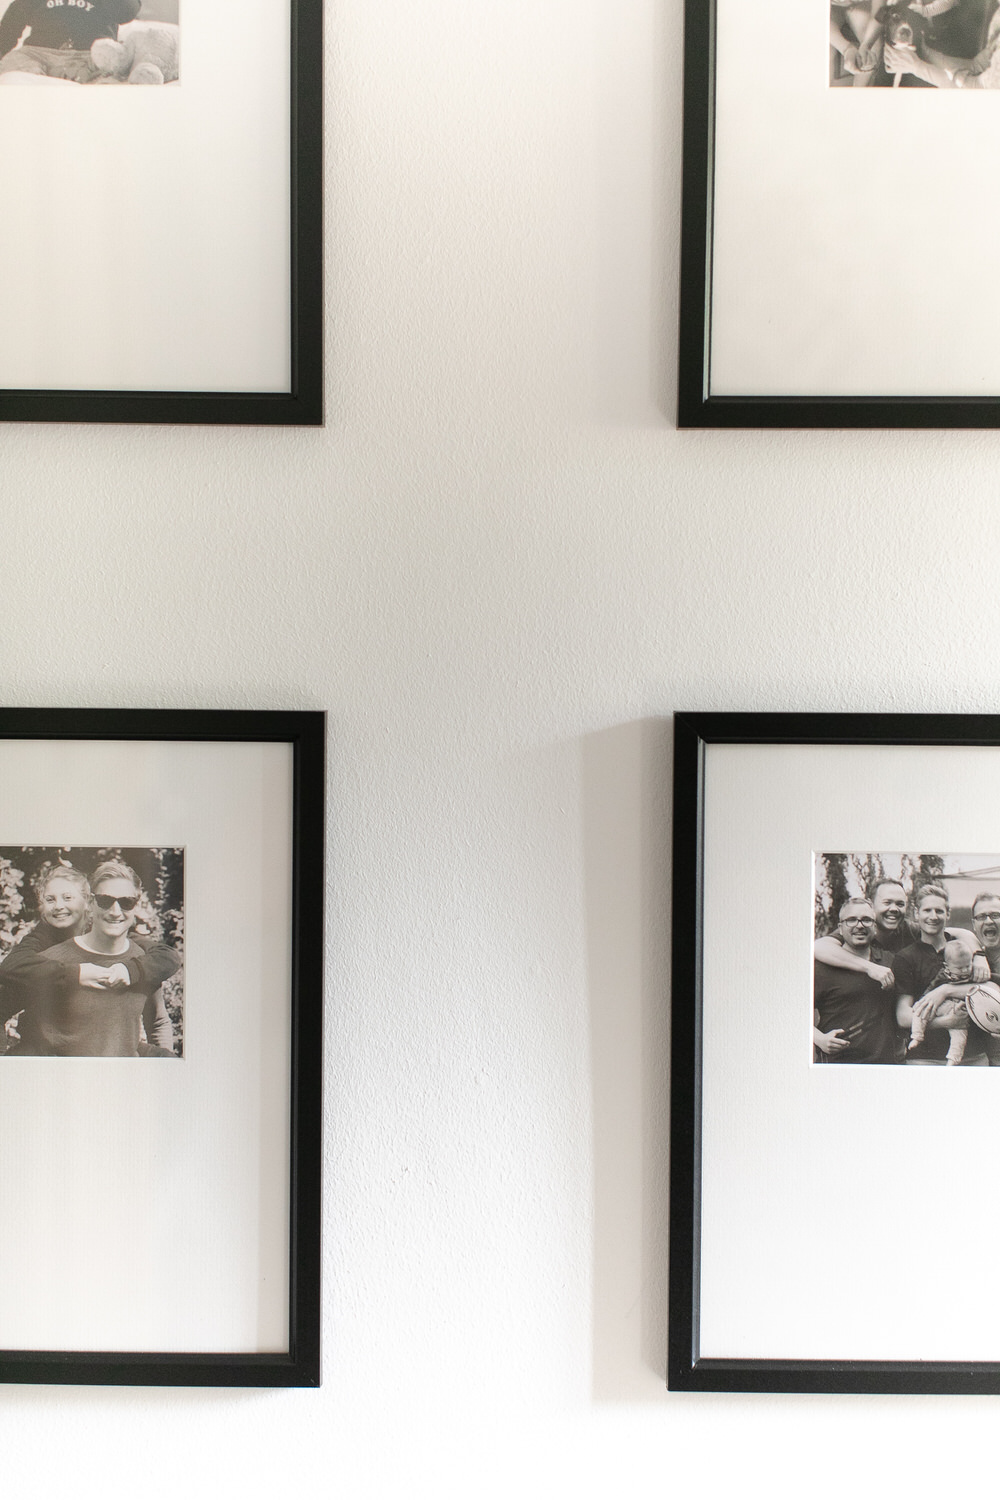
What’s about to follow is a very contrived tutorial for an evenly spaced grid style gallery wall, should you to wish to be a tad OCD too.
I think if you were some form of Superwoman you would be able to do this with one pair of hands but a second person is more than helpful.
You Will Need
What To Do
Landing Before and After
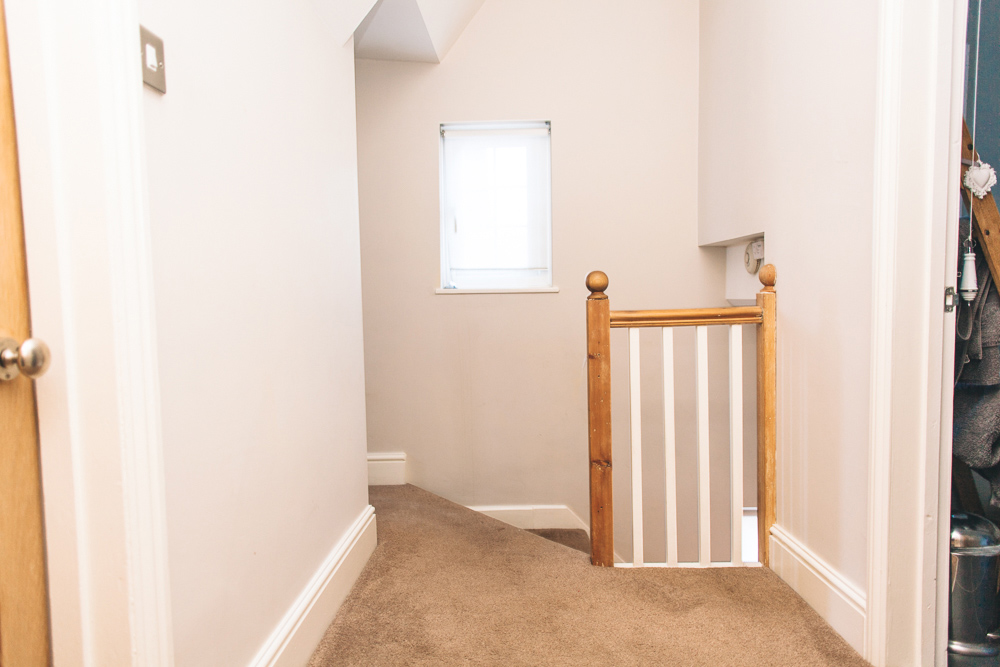
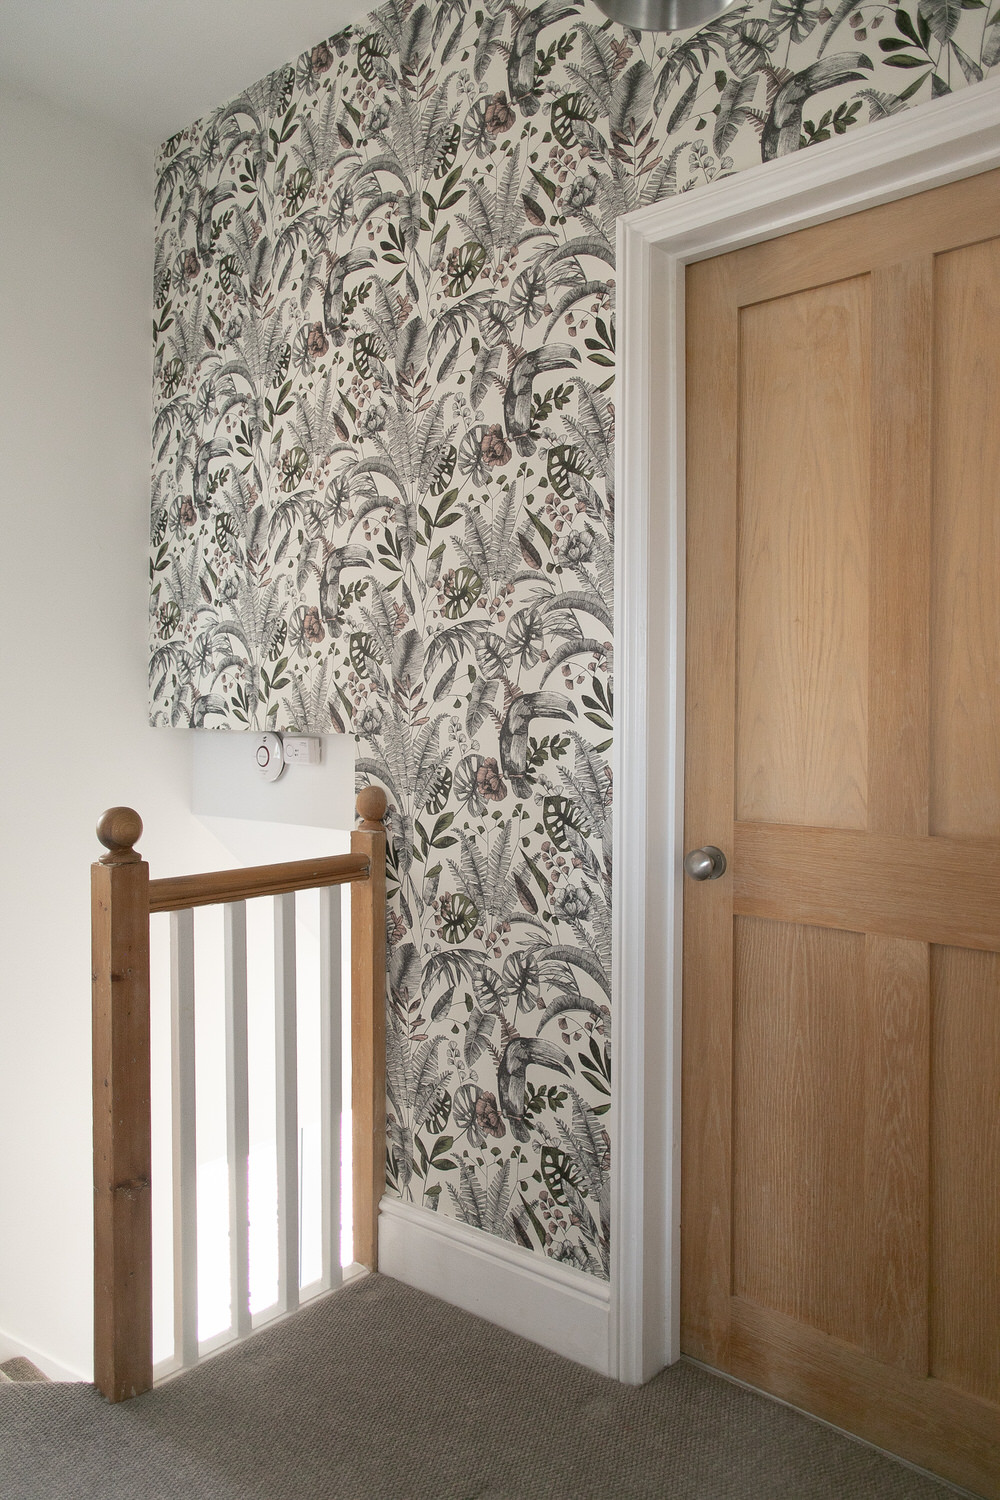
As you can see from the before picture, the landing wasn’t the most inspiring of places to start with. It was also the site of the gone off paint incident and so when it was finally painted (Dulux Super Matt White if anyone’s interested) and carpeted we left it for a year or so. Before Felix was born we ticked off loads of jobs on the to-do list, and one of them was to find something to fill the blank walls. The wall above the stairs is ridiculously bumpy. I had wanted picture ledge shelves there but it would have been impossible. Instead, my dad papered one wall with John Lewis & Partners Ipanema Heritage Wallpaper in Plaster Pink. I’m told palms and botanicals are on their way out but I love how the paper transformed the space.
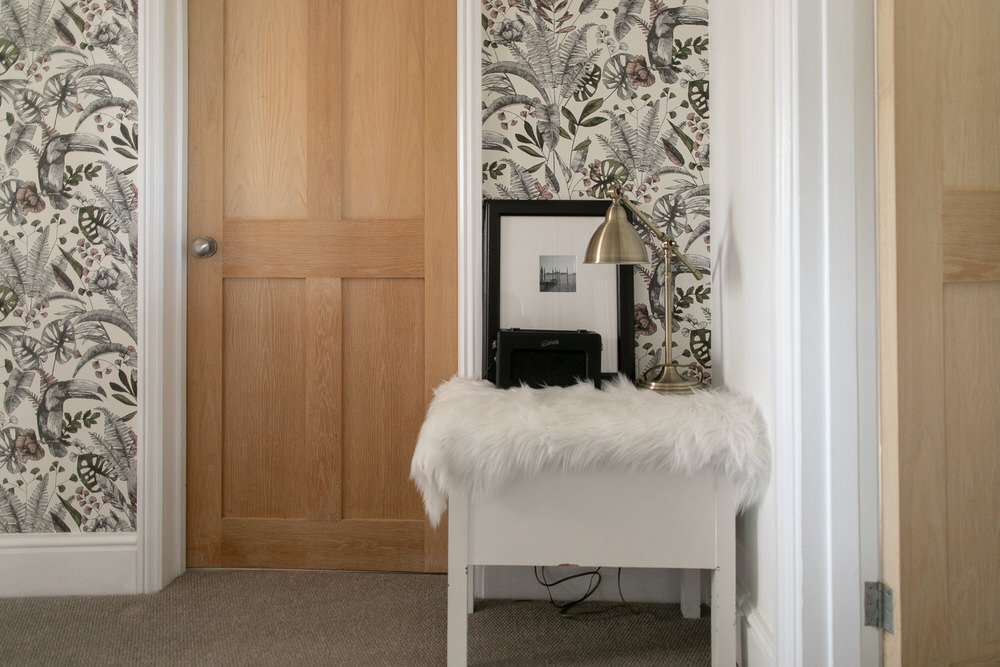
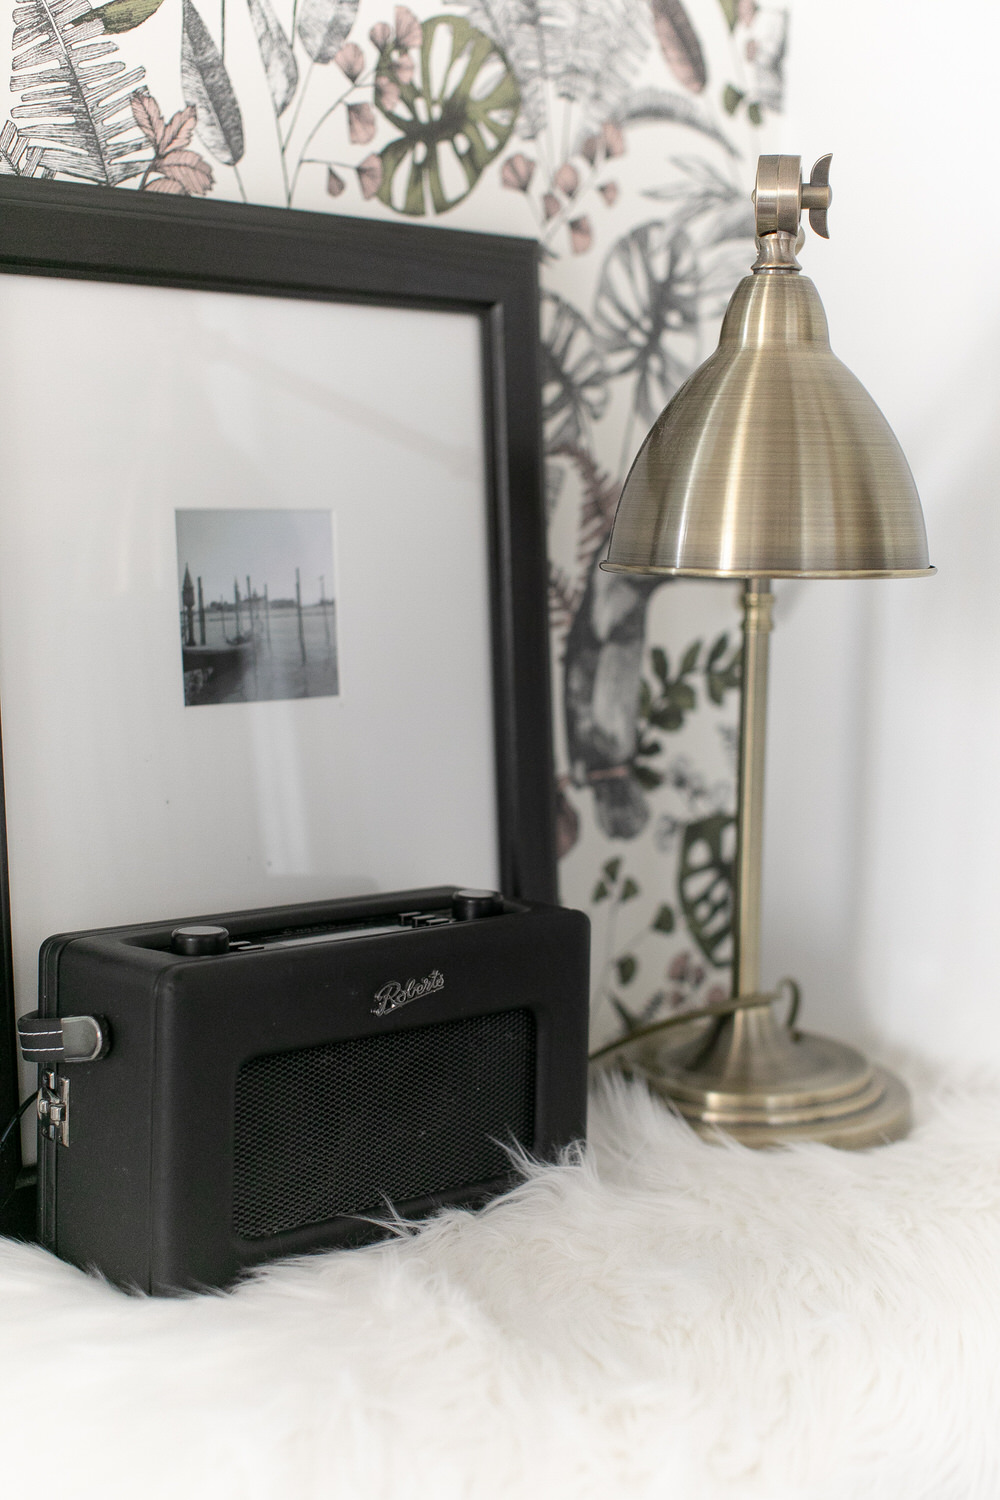
The stool is a vintage one I found in Market Harborough many years ago and the lift up lid has really handy storage inside. The lamp is an old one from one Felix’s room was a guest bedroom and the faux sheepskin rug is from Ikea.
Anyone else like an equally spaced gallery wall?!
Beautiful gallery wall Laura! I’m mustering up the courage to do something similar in our hallway (I was envisaging a lot of head scratching but your tutorial will really help me, thanks!)
Could I ask where you got your square photos printed from though? I’ve been meaning to look for somewhere that does that!
Sorry I thought I had typed “Lauren” but it came out as “Laura”! That’s predictive text for you I guess 🙄🤦🏻♀️
Hi Liz, no worries I get it all the time!
I’ve had them specially printed before and they were such a rip off! This time I just got standard 6×4 prints done and left the excess tucked inside the mount x
Ah great tip! Thanks so much!x
I love that wallpaper!!! And i do love your gallery wall even though i am the proud owner of a higgledy-piggledy multitude of frames & prints 😀 x
it was meant to say…proud owner of a higgledy-piggledy multitude of frames & prints gallery wall – doh!!
🙂
Hi Lauren,
I was wondering where you got your wooden doors from as they look very ‘clean’ and smart.
I need to replace 7 wooden doors in the same style.
Anthony